Hi all...Stitchybritt here, ready to show you my latest Christmas creation - a pair of boxer shorts for boyfriend. They may seem like a regular old pair of boxer shorts but I am actually really proud of them - not only because they worked out well, but because they were really quick to whip up (about an hour in total) AND they're made from fair-trade, organic cotton.
Here's Snorky helping me to cut out the fabric. Basically I took an old-worn out pair of boyfriend's boxer shorts and cut them up for a pattern. I doubt he'll miss them, but I'm not sure how he will feel about me showing you all his pants on the interwebs : s oh well
I then had five pieces - two front, two back, and the lining piece for the front opening. I stitched them all together with waist elastic and this is what I got...
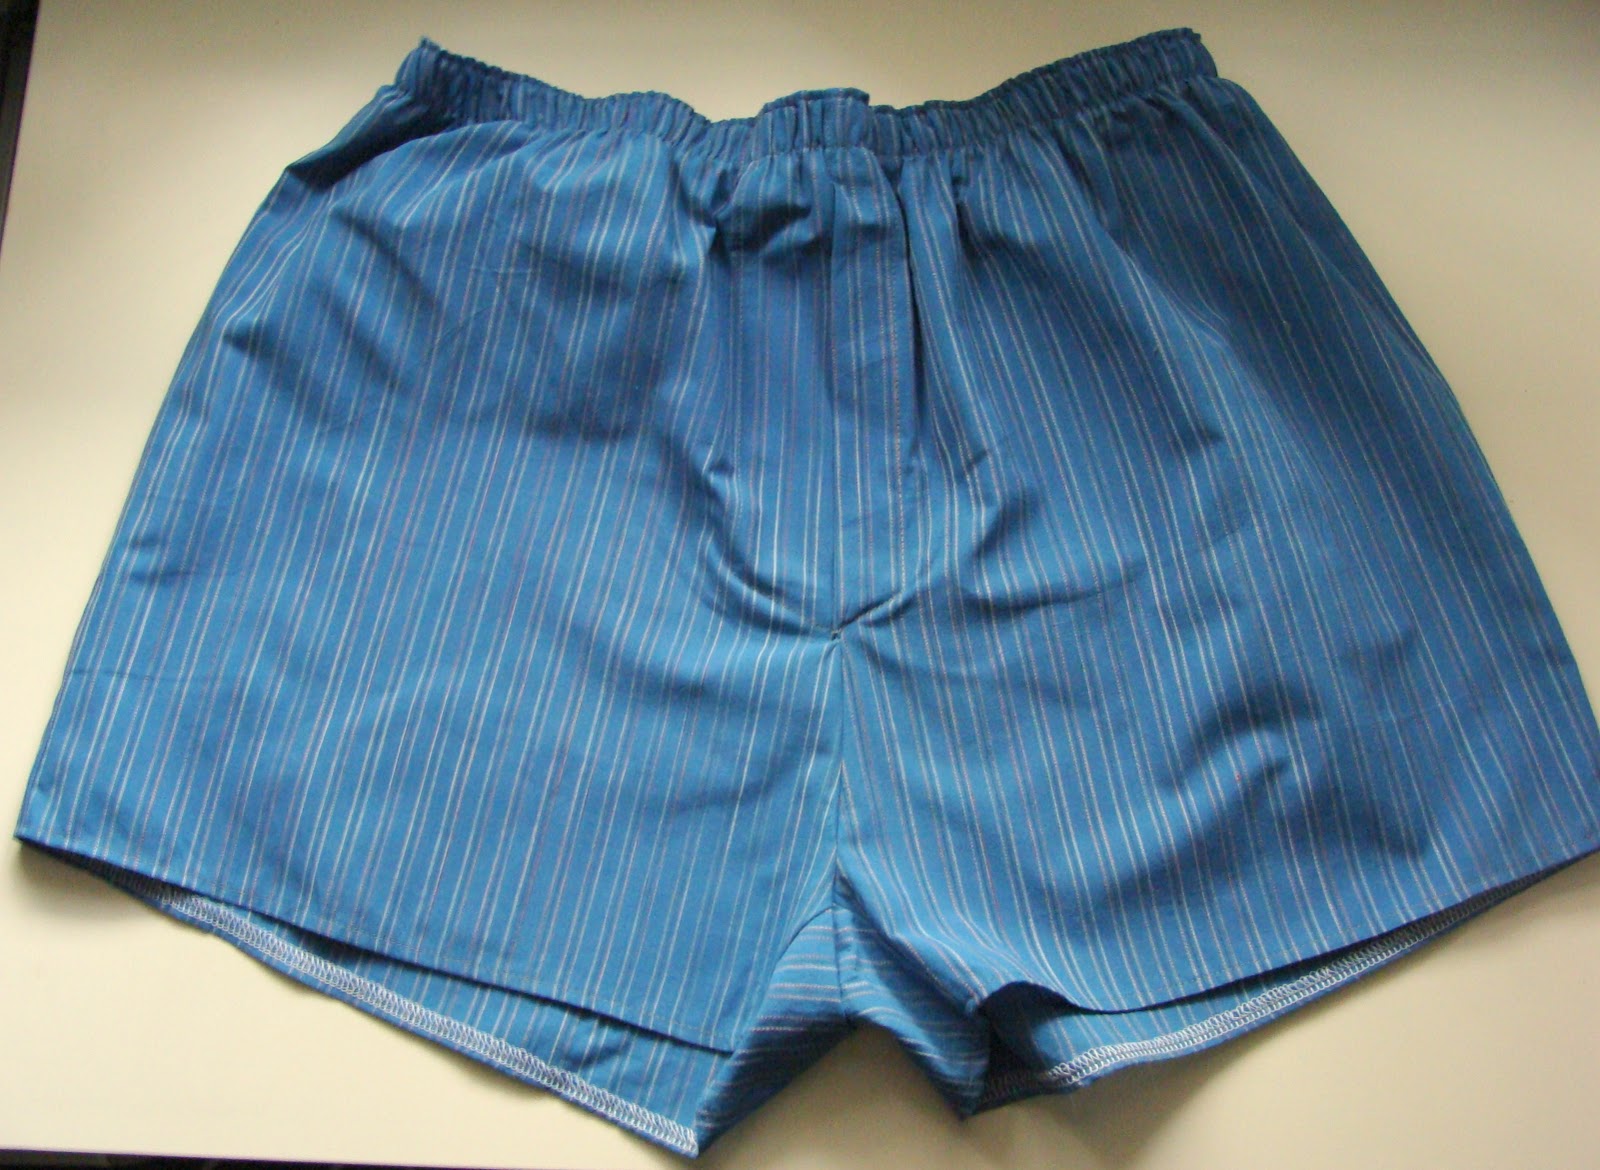
Pretty neat, huh? The front opening works like this, so boys can visit the loo easily...
And a simple elasticated waist. That's all there is to it. I'm quite pleased with them, and if they fit well, I'll probably make more for boyfriend in the future.
Not long to go now Christmas crafters! Good luck for your last two weeks of crafting!
Stitchybritt xx
Showing posts with label men. Show all posts
Tuesday, December 13, 2011
Monday, December 12, 2011
Embroidered Apron
Hello everyone, KraftyKat back again! Yesterday when i showed you my homemade gift tags i promised to be back soon with some actual finished gifts...and here i am! Today i finished an apron which is a present for my boyfriend, who likes to cook (lucky me!).
I made the apron out of cotton canvas that i picked up at the local market. I traced around an apron that we already had to get the shape, cut it out and sealed the raw edges with bias binding. I used contrasting thread for effect.
Those of you who follow my blog will know that i have recently been on a course to learn hand embroidery - i used this new skill to embroider the shape of a chicken on the front of the apron, using thread to match the straps and stitching. To do this I first printed out an outline picture of a chicken (Google is your friend here!) then cut it out and traced around it onto the front of the apron using tailors chalk. I then stitched a simple backstitch around the outline. I think the result is rather effective.
I think the most fiddly part of the whole process was sewing the straps. I folded the raw ends over twice and stitched around them in a box shape to prevent fraying. I then attached them to the apron, trying to sew within the previous stitching like to keep it tidy. It's still not amazingly neat, but it doesn't show up too much so it's all good!
Right, one gift down, 5 to go. Stressed? Me?!
K xx
Wednesday, December 7, 2011
Bags, bags, bags! (and tutorial links)
Hello fellow Christmas Crafters. This is Andrea from Stitch Parade checking in with an update on my pressie making progress thus far. I must confess it’s been great reading about your own progress and I’ve been inspired by the great present ideas you’ve all had.
With less than 3 weeks to go, I’m about 80% done but it’s been raining cats and dogs in Toronto for days so I’ve not been able to get pictures of all my makes. Today I’ll show you what I’ve got so far in the bags department. First up, toiletries bags for my dad and brother:

With less than 3 weeks to go, I’m about 80% done but it’s been raining cats and dogs in Toronto for days so I’ve not been able to get pictures of all my makes. Today I’ll show you what I’ve got so far in the bags department. First up, toiletries bags for my dad and brother:
I learned to make these bags a couple years ago at The Workroom, a local sewing studio, but the process is super easy and I even fund an online tutorial for you over here. For these bags I was able to up-cycle wool materials from hardly worn trousers I rescued from a friend’s Goodwill pile. I figured the look was manly enough. What do you think?

For the ladies I made clutches using a pattern also from The Workroom. I used some leather scraps for two of them, quilting cotton for another two, and the leftover embroidered border denim from my Ginger skirt for the last one.
All bags, except for the leather clutches, are interfaced for structure, include an internal pocket, and are also lined with contrasting cotton fabric for a fun pop of colour.
If you are interested in making similar clutches I found this handy tutorial here. As an FYI, the frames can be bought from several vendors via etsy.
Subscribe to:
Posts (Atom)